Choose for the recipes you bake
A basic digital scale that displays grams, has an easy-to-use tare button, and stays readable under your largest mixing bowl is a sensible starting point for most home bakers. The most important comparison comes from your recipes. Think about whether you mainly make cookies and cakes, regularly mix bread dough in a heavy bowl, or frequently need to measure tiny quantities for espresso or recipe testing. Those are different jobs even though each takes place on a kitchen counter.
Look through a few existing recipes for the heaviest single batch and the smallest ingredient amount you want the scale to show. Note whether you use a large bowl, mixing jug, or pot. Your goal is a scale that makes the routine easier on an ordinary afternoon. This guide draws on published baking references and manufacturer documentation. Think & Buy did not conduct calibration or repeatability testing.
Understand capacity and increments
Capacity tells you how much mass the scale is designed to handle. The vessel counts against that maximum even after you use tare to reset the displayed value. A sturdy ceramic bowl can take up a large share of the available range. Weigh an empty bowl on a scale you already have access to or look up its stated weight if available. Then add the full ingredient total for a double batch if that is common in your household. Give yourself headroom within the specified limit.
Displayed increments tell you the smallest step you can see on the screen. A one-gram display generally makes sense for common flour, water, and sugar measurements. It does not confirm that the scale reads every mass to within a gram. If you regularly want to measure fractions of a gram, compare a suitable finer scale with published tolerance and a platform that fits the container. Look at what the manufacturer says about the minimum load as well as the finest visible increment.
Check whether tare fits your routine
Tare resets the display with the current load in place. Set an empty bowl on the scale, tare it, and add the first ingredient. After you note its amount, you can tare again before introducing the next ingredient if you want a separate reading. That can save washing several measuring cups. If an ingredient is easy to overshoot and difficult to remove once mixed with others, weigh it separately. The fastest measuring workflow is the one that leaves you room to correct an ordinary mistake.
Examine button placement. Some buttons sit where your hand or a bowl can get in the way. Others are easy to identify by feel or read from a normal standing position. If you commonly lean over a counter with both hands busy, a readable button label and a clear confirmation on the display are worth looking for. Check the auto-off description as well. A short timeout can interrupt a recipe when you stop to unpack ingredients, scan instructions, or clean up a spill before adding the next item.
Give the display and platform a real test
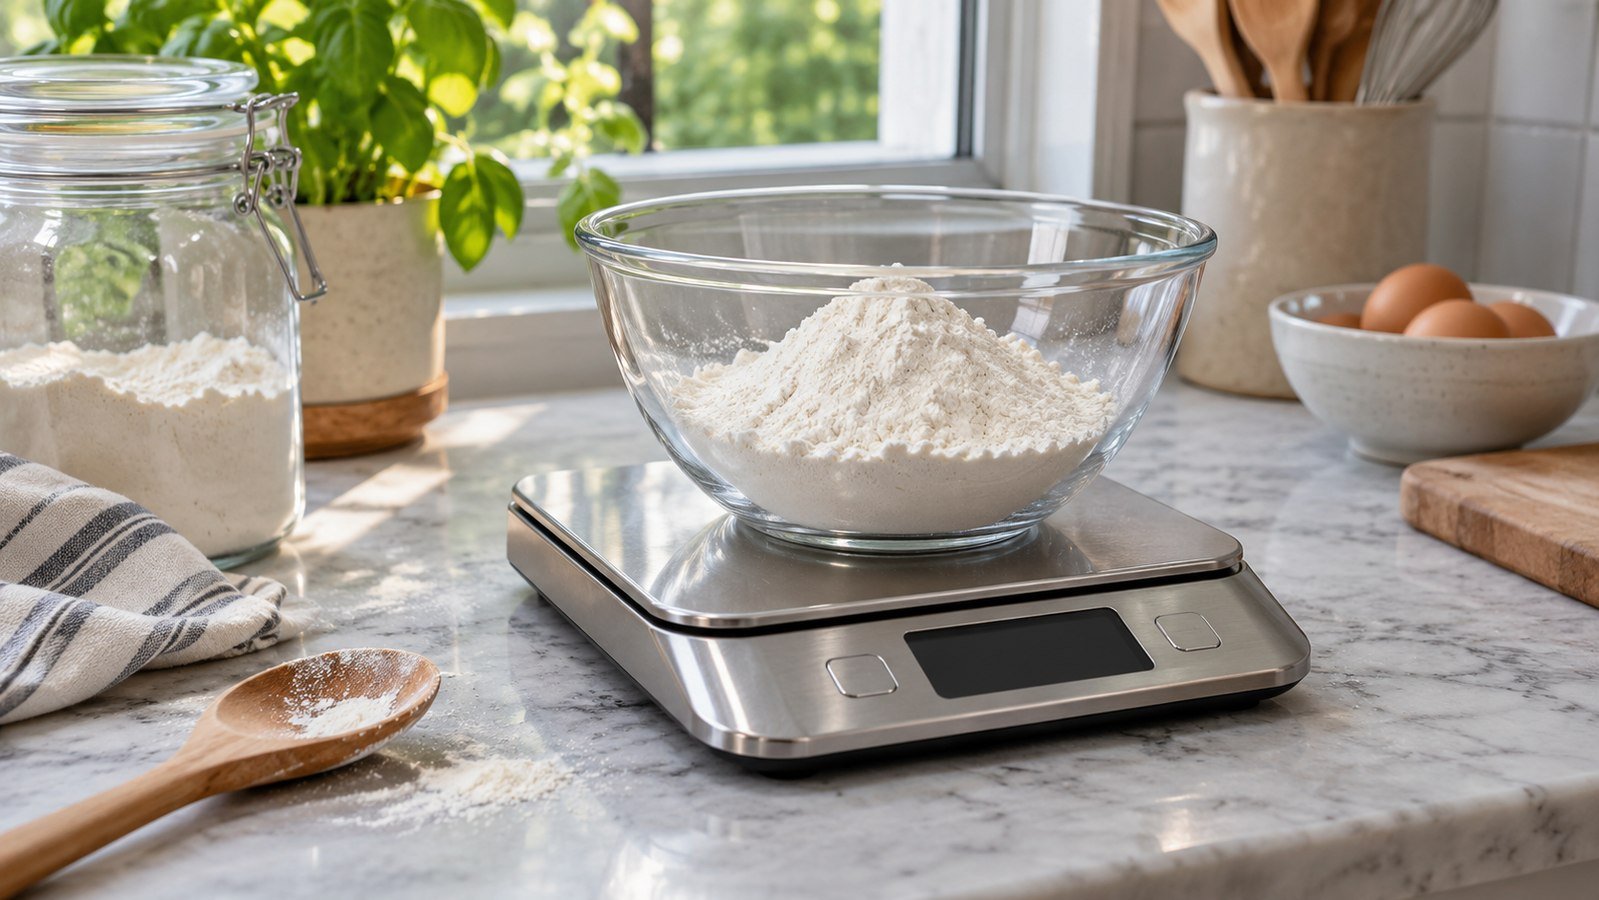
Take the diameter of the bowls you use and compare it with the scale’s layout. A broad bowl can overhang the display even when the center sits securely over the platform. Look for a front display, prominent digits, or a screen that can pull out. The OXO 11-pound stainless steel scale illustrates the pull-out arrangement. The design may be useful if your bowls are wide, while a smaller kitchen may favor a simple scale you can slide into a drawer.
Look at the feet and how the scale sits on a level surface. Check clearance above any backsplash or under a cabinet. If you use it in a dim corner, consider whether the display is backlit and easy to read at the angle you work. Look at the platform shape and how flour can gather at seams or button edges. A scale with a removable or wipeable platform can make cleanup easier if the instructions allow your preferred method. Check the manual’s limits before washing any part.
Verify the weight conventions in your recipes
King Arthur Baking’s ingredient weight chart lists its all-purpose flour at 120 grams per cup. That is a convention for that ingredient and source. Different ingredients have different cup weights, and a recipe publisher may use a different convention for flour. For the most reliable repeatability, use the gram weights supplied by the recipe author when available. If you routinely use recipes in multiple units, pick a scale whose unit button clearly distinguishes grams, ounces, and pounds.
Do not assume a fluid ounce and an ounce of weight are interchangeable. Check how any milk or water mode is defined and use the recipe’s intended measurement. If a recipe gives volume alone for a particular ingredient, refer to a credible chart intended for that ingredient or follow the recipe’s instructed method. Then keep a note of what you did. That makes it easier to repeat a successful result or understand why the next batch comes out differently.
Compare setup, upkeep, and total cost
Write down the price with batteries or any charging hardware you need. If batteries come included, check their type and ease of replacement. If the scale is rechargeable, look for charging location and whether you can read a low-power indicator before a long session. Confirm the expected storage arrangement. You may keep it flat in a drawer or on a shelf if the manual permits. Leave room so nothing heavy presses on the platform in storage.
When it arrives, try the same bowl and a familiar recipe on a stable level counter. Check tare, unit switching, and readability at least once with the largest bowl. If a milliliter or unit button is easily triggered during cleanup, you will want to know before a busy baking day. Keep the receipt until you know the layout works. Browse Kitchen & Dining for related guides or see our espresso machine buying guide for a different kitchen weighing workflow.
If several people bake in the kitchen, show them how the unit and tare controls work and keep a short note about any unfamiliar symbols. A scale that retains its last unit can surprise the next person, especially when it has an ounces-and-pounds display. Before pouring a heavy ingredient into a half-mixed batter, pause to confirm the unit and whether the bowl is centered. For a recipe you make often, use the same vessel and repeat the same sequence. That helps you spot the occasional accidental button press or bowl that rests against the counter.
Frequently asked questions
Is a one-gram scale enough for home baking?
It is a practical starting point for many everyday recipes. If a recipe depends on repeated measurements below one gram, compare a scale with a finer range and check the manufacturer’s accuracy rather than the display resolution alone.
How much capacity should I buy?
Add the weight of your heaviest mixing bowl to the ingredients for the largest batch you commonly make. Taring the bowl changes the displayed value and does not increase the device’s physical capacity.
Does weighing flour eliminate every source of variation?
Weighing helps repeat the amount measured. Recipe technique, ingredient differences, and oven behavior can still affect the result. Start with the source’s weights and directions, then record meaningful changes when you repeat the recipe.