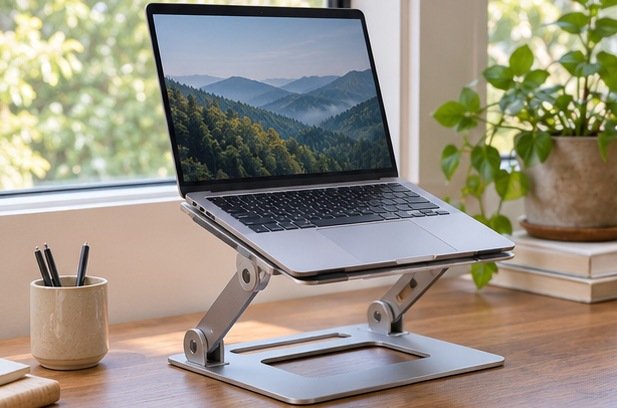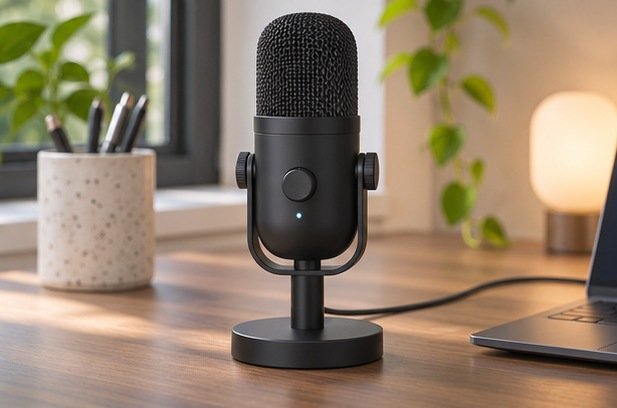
For clearer calls, choose a microphone you can place near your speaking position without blocking your work. A simple USB model with a usable mute control and a compatible mount is a good starting point. Compare how it sounds from where you actually sit, because room reflections, keyboard noise, and automatic processing in your calling app can matter more than an expensive microphone capsule.
Start with the desk and voice position
Sit where you normally take a call. Look at where you type, read, and turn to a second monitor. Measure the space in front of you and near either edge. A tabletop stand is easy to move but can place the microphone behind a keyboard or too far below your voice. A compatible arm can lift it out of the working area. Check clamp clearance, thickness limits, and where the arm would sweep when you put it away. A lightweight stand may suit a shared desk where nothing stays attached.
Check where the cable exits the microphone and where it reaches a USB port. Leave slack for movement without letting the lead brush the stand or keyboard. If you use a laptop away from the desk most days, decide whether a detachable cable and a stand that can remain in position make setup easier. Keep enough space to move papers and position a drink without bumping the microphone. A compact unit that stays close when you turn your head can be more effective for ordinary calls than a larger model you have to push far away.
Understand direction and microphone type
Check where the model expects you to speak. Some microphones take sound from the end and others from the side. Use the manufacturer's diagrams before turning it to match a product photo. A cardioid pattern is designed to favor sound from one main direction. It can help when a sound source is away from that direction, but the room and distance still affect the result. Shure's MV7 guide describes one dynamic cardioid microphone and illustrates the sort of placement guidance to consult.
Dynamic and condenser microphones can both work well for speech. A label alone says little about how much room sound you will hear in your setup. Listen to samples at a similar speaking distance, and compare the app settings if those are given. Set the mic so you can speak naturally, with the preferred side or end facing you. Try moving it slightly off your direct breath path if the manufacturer recommends that position. If you normally talk while looking at a second screen, check the voice level with your head turned toward it.
Check mute, gain, and monitoring controls
Look for a mute control you can reach without searching the screen. Confirm whether its indicator lights when muted or active, and whether the calling app also shows the same state. Hardware and software mute can be separate. If you work in several apps, check what the button does in each. A touch control may avoid a mechanical click but can be easier to trigger unintentionally in a crowded area. Physical controls should sit where you can use them without moving the mic toward your keyboard.
A useful gain setting helps when the voice is consistently too quiet or too loud. Check whether the manufacturer expects changes on a physical control, an optional app, or the operating system. Some calling apps adjust input automatically, which can mask a manual change. A headphone jack may provide direct monitoring on some models. Verify whether it lets you hear your own voice, the remote caller, or a mix. If you use wireless headphones, decide if a wired monitoring feature will actually be useful.
Choose for your operating system and work apps
Verify support for your operating system version and confirm that your laptop, dock, or adapter can carry data on the chosen port. A usable connector shape isn't sufficient. Check whether the mic uses a standard interface for input or needs software for features you want. Work-managed computers can restrict installation. If a configuration utility is optional, check what behavior remains when you connect the mic to a second computer without it.
Test the normal calling software, including the exact browser or desktop app you use. Select the USB microphone in the app's input settings, choose an output device, and use the app's built-in audio check where available. If your laptop has a camera with an integrated mic, make sure reconnecting the dock doesn't swap the input unexpectedly. Keep a record of the working settings. Test after restarting once if the microphone needs to work reliably on early calls without manual setup.
Compare the sound in an ordinary call
Make a brief recording at your normal speaking level. Try it while turning to another screen, pressing typical keys, and sitting back in the chair. Listen through the headphones you usually use. If voice drops when you move or the room becomes too prominent, adjust placement before increasing gain. Try a position close enough for a natural voice and stable enough to keep that position throughout a call. Beyond sound quality, notice if the setup feels intrusive or blocks an important part of your work.
If a keyboard is audible, reposition the mic and check whether the stand transmits vibration through the desk. A different mount can help if tapping on the surface reaches the mic. Turn one setting at a time to observe the effect. Compare a quiet room and a typical busy time so you know what the other person will hear. Use the same text while making the comparisons. You may find that the layout that serves a full meeting better is different from the setup that produced the best short clip.
Compare the footprint of the whole setup
Put a mug, notebook, and your regular keyboard where they normally sit, then map out the space a stand can actually occupy. Make sure your hand can reach the mute control while holding a pen or moving the mouse. If you plan to attach anything to the desk, check what is underneath the mounting area and where the folded arm will rest. The handset and connectors should stay clear of drawers and avoid taking away an access point you use daily.
For someone who alternates between a quiet room and an open-plan workspace, record a similar sample at both locations. A stand or mount is only worth carrying if it reliably places the microphone where it works. If you usually keep the unit plugged in, check whether there is a practical way to tuck it out of the way when it isn't part of the call.
Related guide: Read the companion buying guide.
Reference: See the source and specifications.
Frequently asked questions
Does USB sound better than a headset microphone?
It depends on placement and the room. A headset keeps the microphone near your mouth as you move. A USB desk microphone can work well when you can keep it in a suitable position.
Will a cardioid model remove keyboard noise?
It can help reject some sound from certain directions. Placement, distance, how sound travels through the desk, and application processing also affect what gets picked up.
Is a boom arm required?
A desk stand can be enough if it holds the mic where you need it. An arm is useful when a tabletop stand would put it too far away or occupy working space.